Migrate from Google Workspace to Microsoft 365
To ensure, there isn’t any G-Suite/Google Workspace data lost in translation, follow these steps, and manage successfully complete the migration from Google Apps to Microsoft 365. In addition to moving your email from G Suite to Microsoft 365, you and your employees can also move your G Suite Drive files to Microsoft 365.
1] Signup and set up your files
You can start by signing up for Microsoft 365 subscription. So, visit Office365.com and select the ‘For business’ option. Next, choose ‘See plans & pricing’ > ‘Small Business’ > ‘Buy now’.
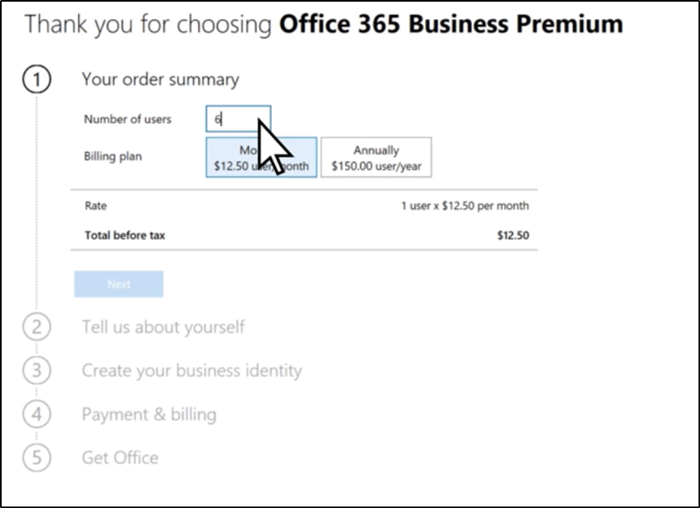
When directed to the order summary page, enter the total number of people that will use Microsoft 365, choose a billing plan (monthly or annual), and then hit the ‘Next’ button. Thereafter, follow the onscreen instructions. See this video for more instructions.
2] Move your files
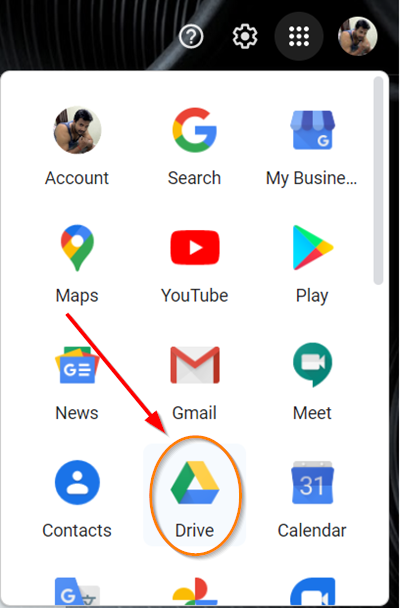
Sign in to your Gmail account click the Google apps icon in the upper-right corner, and select ‘Drive’. Download your documents by compressing them into a downloadable .zip file and save them to a suitable Desktop location. Thereafter, on your Windows desktop, click the OneDrive cloud icon in the Task Bar area, and choose ‘Settings’. Next, add an account, and sign in with your Microsoft 365 account details. Click ‘Open my OneDrive folder’. When done, open the .zip file (downloaded earlier from Google Drive), select all from the list, and drag them to your OneDrive folder. The files will be synced to OneDrive for Business, verifiable by green checkmarks.
3] Connect your domain and email
Once you have completed the migration of files, it’s time to connect your domain to Microsoft 365. For this, Login your Microsoft 365 account. Go to ‘Apps’, under it, select ‘Admin’. In the admin center, choose ‘Go to setup’.
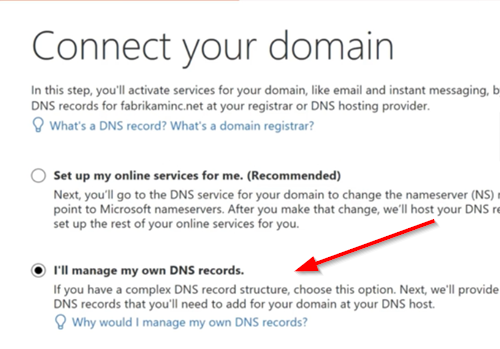
Then, on the Connect your domain page, select ‘I’ll manage my own DNS records’. Check the boxes for the online services you want to set up and hit the ‘Next’ button. Follow the step-by-step instructions link. Then, click ‘Add an MX record to route email’ in the article to add the MX records.
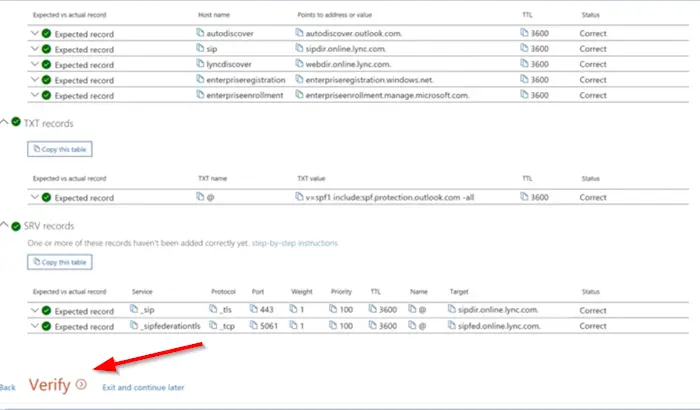
Later, return to Microsoft 365 and click ‘Verify’.
4] Cancel G Suite subscription
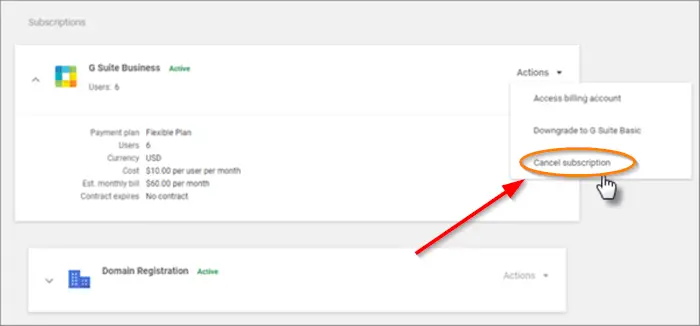
Sign in to ‘Google Admin’. Go to the ‘Billing’ section. Under the ‘Subscriptions’ list, locate your G Suite account.
Click the Actions drop-down arrow and select ‘Cancel subscription’.
5] Setup devices
Once you have setup up email, calendars, and contacts on your Windows 10 Desktop or PC, you can do the same on your phone with the Outlook mobile app. Follow the instructions given here. We hope this helps.
