How to make PowerPoint Read-only
So, the big question right now is how do we create a read-only presentation with PowerPoint. Worry not because we are going to share how to get this done in the best way possible. Now, please note that folks can unlock a read-only presentation, so while it is easy to accomplish, it might not be the best deterrent, so please keep that in mind. Let us discuss this in more detail.
1] Open the presentation you want to make read-only
The first step is to fire up the PowerPoint presentation you want to make read-only. Simply launch the program then, right away, you should see a list of your previously saved documents. There is a search box at the top as well, so be sure to use it to find presentations that are not in view.
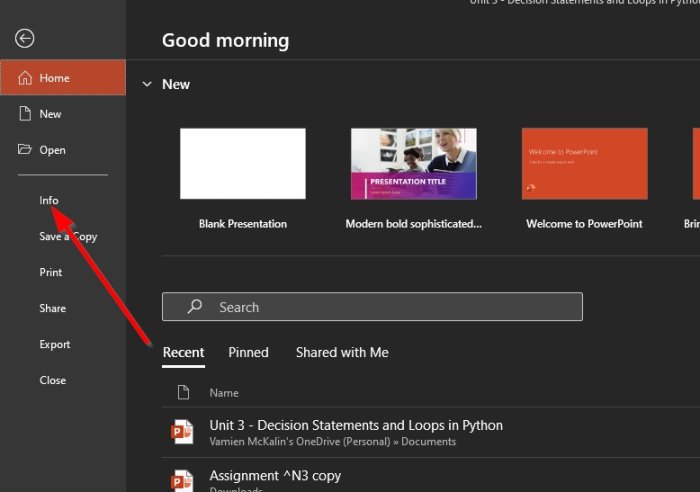
2] Find and click on Info
We will assume that you’ve already created a PowerPoint presentation, so let’s open it by clicking on the File tab, then Info to showcase a menu.
3] Protect your presentation
OK, so when it comes down to protecting your presentation from anyone who might want to copy or alter your work, you must click on the Protect Presentation button. You should now see a dropdown menu with the following options:
Always Open Read-Only: Prevent accidental changes by asking readers to opt-in to editing.Encrypt with Password: Require a password to open this presentation.Add a digital signature: Ensure the integrity of the presentation by adding an invisible digital signature.Mark as final: Let readers know the presentation is final.
4] Select Always Open Read-Only
In order to set your presentation to Read-Only, you must click on Always Open Read-Only from the dropdown menu, and right away, the changes will take effect. Now, if you want to remove it, repeat the same action, and everything should be fine after that. That’s it. Now read: How to create a Word Cloud in Microsoft PowerPoint?