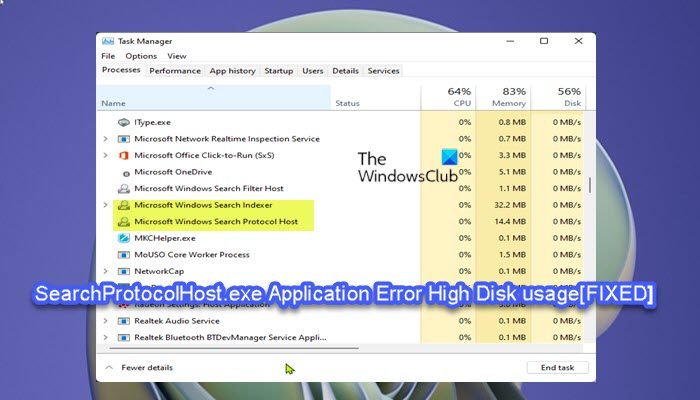
SearchProtocolHost.exe is part of the Windows Indexing Service, a process that indexes files on the local drive making them easier to search. SearchIndexer.exe provides content indexing, property caching, and search results for files, e-mail, and other content. SearchIndexer and SearchProtocolHost processes communicate with each other frequently and even if you terminate SearchProtocolHost.exe, SearchIndexer.exe will restart it again.
Fix SearchProtocolHost.exe High Disk usage
If you are experiencing High Disk usage for SearchProtocolHost.exe on your Windows 11/10 computer, you can try our recommended solutions below in no particular order and see if that helps to resolve the issue on your system. Let’s take a look at the description of the process involved concerning each of the listed solutions. Before you try the solutions below, check for updates and install any available bits on your Windows 11/10 device and see if the issue is resolved – updating Windows would update the lists in the Indexer from the network, just in case any newly launched program was missed. On the other hand, if the error started after a recent Windows update, you can perform System Restore or uninstall the update – but if you prefer not to do neither, you can then go ahead with the solutions below.
1] Run Search and Indexing Troubleshooter
You can begin troubleshooting to fix the SearchProtocolHost.exe Application Error High Disk usage on your Windows 11/10 computer by running the inbuilt Search and Indexing Troubleshooter. To run Search and Indexing Troubleshooter on your Windows 11 device, do the following:
Press Windows key + I to open Settings app.Navigate to System > Troubleshoot > Other troubleshooters.Under the Other section, find Search and Indexing.Click Run button.Follow on-screen instructions and apply any recommended fixes.
To run the Search and Indexing Troubleshooter on your Windows 10 PC, do the following:
Press Windows key + I to open Settings app.Go to Update and Security.Click the Troubleshooter tab.Scroll down and click on Search and Indexing.Click the Run the troubleshooter button.Follow on-screen instructions and apply any recommended fixes.
2] Check and Uninstall recently installed third-party apps
Some third-party applications or programs such as iFilter for PDF installed on your Windows 11/10 PC, have certain features present which causes the search service to be repeatedly triggered on your computer. In this case, to resolve the issue, uninstall the iFilter for PDF app if it applies to your case scenario, and if not, check and uninstall all recently installed apps after which you started noticing the issue in hand. In addition, you can troubleshoot in Clean Boot state as unnecessary system and cache files, processes, services present or running on your computer can trigger this error. If the issue remains unresolved, try the next solution.
3] Change Indexing Options
You can change Indexing Options in Windows 11/10 assuming you don’t want a drive or a folder to be included in Search Indexing. You can uncheck the larger locations (eg. C: if it is your system drive, etc.). Try the next solution if after this task the issue isn’t resolved.
4] Defrag Disk
In the maintenance of file systems on the Windows 11/10 operating system, defragmentation is a process that reduces the degree of fragmentation – done physically by organizing the contents of the mass storage device used to store files into the smallest number of contiguous regions. The result of the disk defragmentation is that files are stored in a continuous manner, which makes it faster for the computer to read the disk, increasing the performance of your PC which could ultimately improve the Windows Search service and indexing in such a way the process running wouldn’t need much system resources thereby eliminating the high disk usage issue.
5] Disable Windows Search Service
If you do not use Search then this is an option you can consider-
Press Windows key + R to invoke the Run dialog.In the Run dialog box, type services.msc and hit Enter to open Services.In the Services window, scroll and locate the Windows Search service.Next, double-click on the entry to edit its properties.In the properties window, click the drop-down on the Startup type and select Disabled.Click Apply > OK to save changes.Exit Services Manager.Restart PC.
6] General fix for High Disk usage in Windows 11/10
You can try the general solutions in the guide on how to fix 100% Disk, High CPU, High Memory usage – if nothing worked to resolve the issue, you can reset the PC. Hope this post helps!
How do I get rid of SearchProtocolHost exe?
To stop Microsoft Windows Search Protocol Host from asking for older mail credentials on your Windows 11/10 PC, do the following:
Open Control Panel.Open Mail.Select the older mail profile that matches the account listed in the Microsoft Windows Search Protocol Host credential window.Click Remove.
Related post: How to fix Search Indexer High Disk or CPU usage.